Learning plans
Learning plans in Dakora+ allow you to tailor content specifically to the needs of individual learners. This means that each person can receive exactly the materials and tasks that match their individual learning level. At the same time, teachers can also assign the plans to several learners, allowing them to tailor their lessons to different levels and areas of focus. Learning plans thus support the individualization, orientation, organization, and targeted planning of the learning process.
Once you have added materials or dates to your planning storage, go to the “Learning Plan” tab. In the upper right corner, there is a button labeled “Create New Learning Plan.” Clicking this button makes the participants of the selected course clickable. This allows you to create collected learning plans for multiple learners at once.
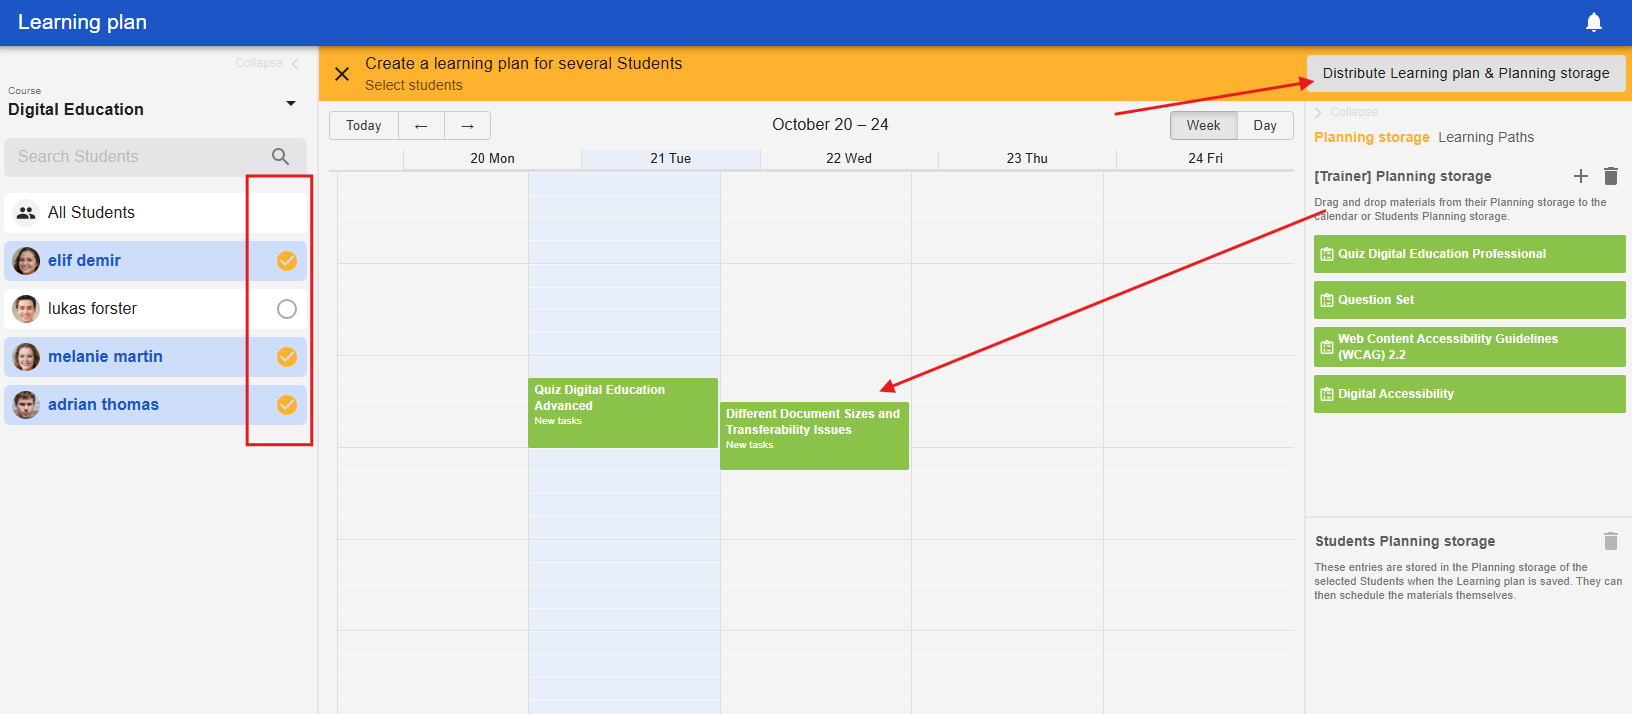
Once all desired participants have an orange check mark, you can click on the “Distribute learning plan & planning storage” button in the upper right corner.
After distribution, the materials and dates will appear in the learners' planning storage and in the “Tasks” tab in the student account. There, they will have the status “New tasks.” For more information, see the section on learners.
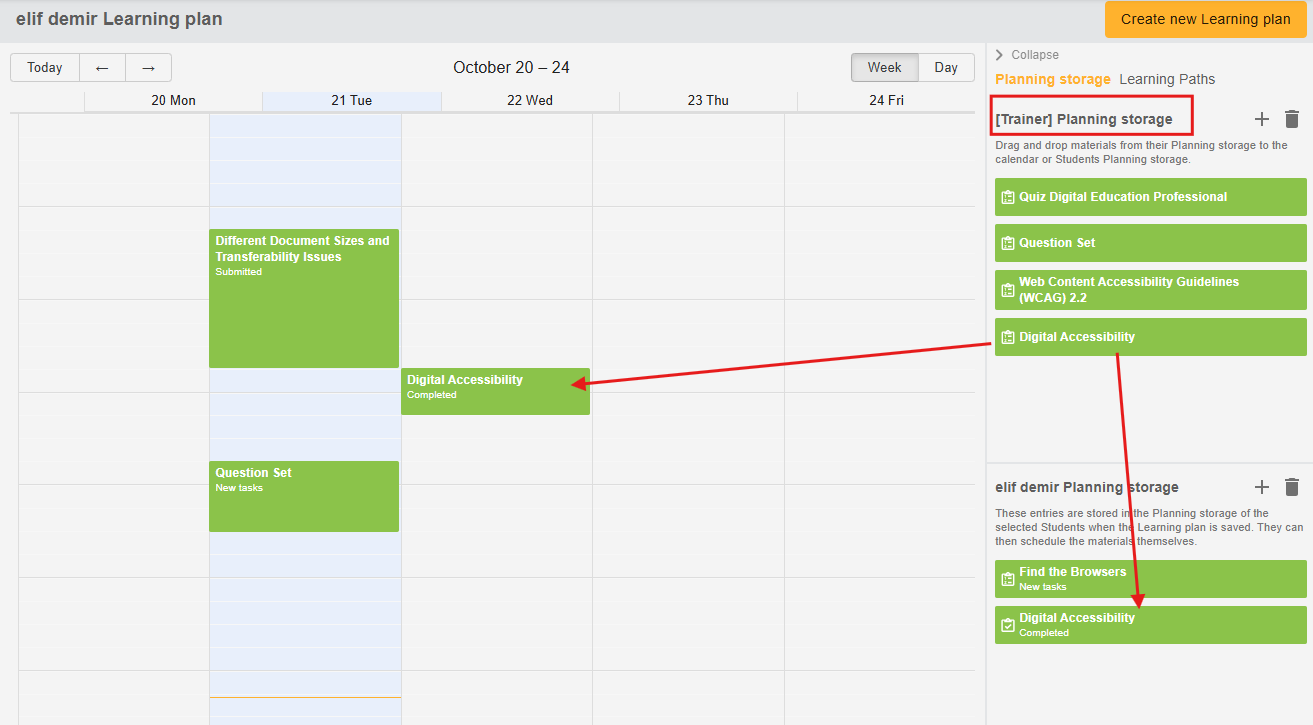
Teachers can also select individual learners directly in the Learning Plan tab to assign them tasks. To do this, click on a learner and drag tasks or dates from the teacher's planning storage to the learner's planning storage on the right. These are then available to the learners for personal scheduling. Alternatively, teachers can also drag a task or appointment directly into the desired slot in the weekly schedule and adjust the duration.